I’ve tried lots of tutorials but nothing seems to work with newer versions of Raspbian. So I’ve decided to write my own simple tutorial on this matter.
- Install the Raspbian Stretch Lite on your sd card.
Warning! It is very important to download LITE version of Raspbian.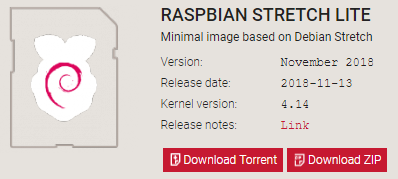
Raspbian lite - Use raspi-config to enable SSH (you might need it for further management because your device will be in a full kiosk mode).
sudo raspi-config
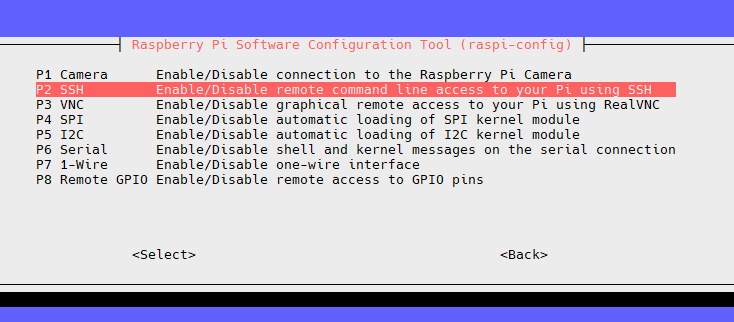
raspi config → Interfacing options → P2 SSH - Install packages:
sudo apt-get update && sudo apt-get dist-upgrade
sudo apt-get install lightdm xinit chromium-browser omxplayer - Create .xinitrc file:
nano ~/.xinitrc
With following contents:
xset s off
xset -dpms
xset s noblank
/usr/bin/chromium-browser –window-size=1920,1080 –kiosk –incognito http://yourwebsite.com
or:
/usr/bin/omxplayer –loop /home/pi/some_flick.mp4
- Create a symlink to .xinitrc:
ln -s ~/.xinitrc ~/.xsession
This way lightdm session will also run selected application on a startup. - Once again run raspi-config and follow steps bellow:
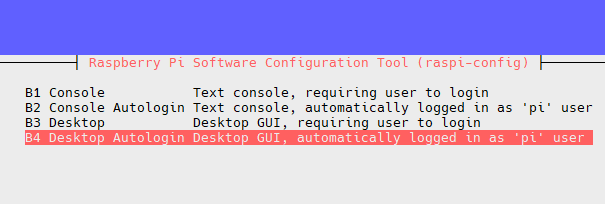
Boot Options → Desktop / CLI → Desktop Autologin … - Finish, save and reboot. After few minutes you should get your app running on a screen.
PS. Beware that this way your keyboard and mouse will not work. Some tweaking will be needed to accomplish that 🙂